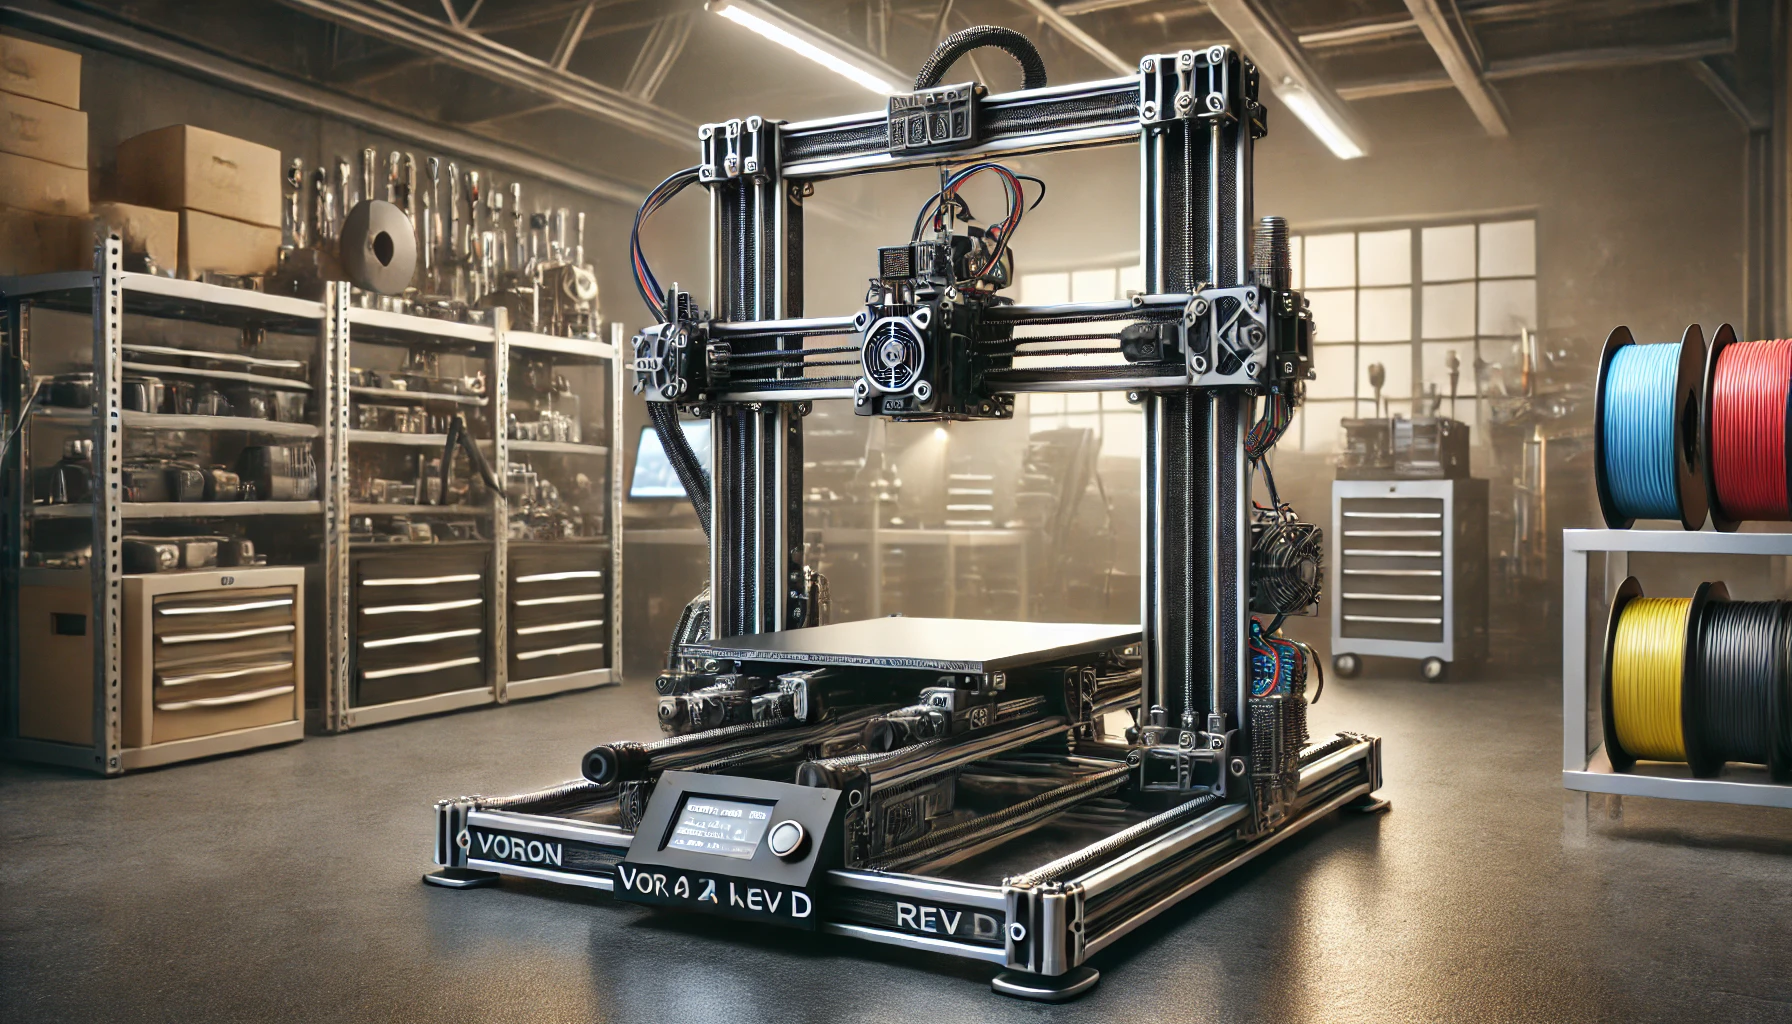
The Voron 2.4 LDO Rev D is a flagship 3D printer in the Voron series, revered for its precision, speed, and modularity. This printer represents the pinnacle of DIY printing, offering users the opportunity to assemble a machine that rivals prebuilt models in performance. In this article, we’ll delve into its features, assembly process, upgrades, and tips for optimizing your Voron 2.4 for the best results.
Introduction to the Voron 2.4 LDO Rev D
The Voron 2.4 is not your average 3D printer. Designed by a community of dedicated engineers and hobbyists, this machine combines open-source innovation with high-end performance. The LDO Rev D version of the 2.4 is a kit designed for experienced builders who value customization and robust performance. With its coreXY kinematics and rigid frame, the Voron 2.4 ensures fast and accurate prints without compromising quality.
Key Features of Voron 2.4 LDO Rev D
- CoreXY Design:
- Ensures high-speed printing while maintaining precision.
- Reduces mechanical stress compared to Cartesian setups.
- Rigid Aluminum Frame:
- Provides unparalleled stability during prints.
- Minimizes vibrations and improves print quality.
- Fully Enclosed Build Chamber:
- Ideal for high-temperature materials like ABS and Nylon.
- Maintains consistent temperature for better layer adhesion.
- Advanced Electronics:
- Features high-quality components for reliability.
- Equipped with Trinamic drivers for quiet and smooth operation.
- Large Build Volume:
- Supports prints up to 300x300x300mm.
- Suitable for both small and large projects.
- Customizable Toolhead:
- Allows for upgrades like dual extrusion or better cooling systems.
- Supports a wide range of hotends and nozzles.
Assembling the Voron 2.4 LDO Rev D
Assembling the Voron 2.4 is a rewarding yet challenging process. Here are the main steps involved:
1. Preparing the Components
The LDO kit includes all essential parts:
- Frame components
- Linear rails
- Electronics
- Wiring
- Fasteners and tools
Ensure all parts are accounted for before starting the assembly.
2. Building the Frame
- Begin by assembling the aluminum extrusions into a rigid frame.
- Use precision tools to ensure the frame is square and level.
3. Installing the CoreXY Mechanism
- Mount the belts and pulleys carefully.
- Align the system to minimize backlash.
4. Wiring and Electronics
- Route the wires neatly through cable chains.
- Connect the control board, power supply, and stepper motors.
- Test each component after installation.
5. Calibration
- Level the bed using the built-in probes.
- Fine-tune the belt tension for smooth operation.
- Test the extrusion and flow rates.
Optimizing Your Voron 2.4 for Peak Performance
- Upgrade the Cooling System:
- Install a high-performance fan to maintain the hotend’s temperature during long prints.
- Use High-Quality Filaments:
- Opt for premium materials to achieve better results and avoid jams.
- Regular Maintenance:
- Clean the linear rails and lubricate moving parts.
- Check the belts for wear and tension regularly.
- Advanced Firmware Tuning:
- Experiment with Klipper firmware for improved performance.
- Fine-tune acceleration and jerk settings for optimal speed.
Pros and Cons of the Voron 2.4 LDO Rev D
Pros:
- Superior build quality and precision.
- Versatility in handling various materials.
- Open-source design encourages upgrades and modifications.
- Quiet and efficient performance.
Cons:
- Assembly can be time-consuming for beginners.
- Higher initial cost compared to prebuilt printers.
- Requires regular maintenance for consistent performance.
Common Upgrades for voron 2.4 ldo rev d
- Automatic Bed Leveling:
- Simplifies calibration and improves first-layer adhesion.
- PEI Build Plate:
- Provides excellent adhesion and makes print removal easier.
- Upgraded Hotend:
- Switch to a high-flow hotend for faster printing.
- Octoprint Integration:
- Enables remote monitoring and control of your printer.
Tips for Troubleshooting
- Uneven Layers:
- Check the belt tension and alignment.
- Ensure the bed is level and clean.
- Clogged Nozzle:
- Use a cleaning filament to clear blockages.
- Avoid printing with low-quality filaments.
- Skipping Steps:
- Lower the acceleration settings.
- Ensure the stepper motors are not overheating.
Conclusion
The Voron 2.4 LDO Rev D stands out as a versatile and high-performance 3D printer. While it requires patience and technical know-how to assemble, the rewards are well worth the effort. With its open-source design, robust features, and endless upgrade possibilities, it’s a dream machine for hobbyists and professionals alike. Whether you’re printing intricate models or large prototypes, the voron 2.4 ldo rev d delivers precision and reliability every time.
Frequently Asked Questions
Q: Is the Voron 2.4 suitable for beginners?
A: It is better suited for experienced users due to the complex assembly process.
Q: What is the average build time?
A: Assembly typically takes 30–40 hours, depending on experience.
Q: Can it handle flexible filaments?
A: Yes, with the right extruder and setup, it can print flexible materials like TPU.
